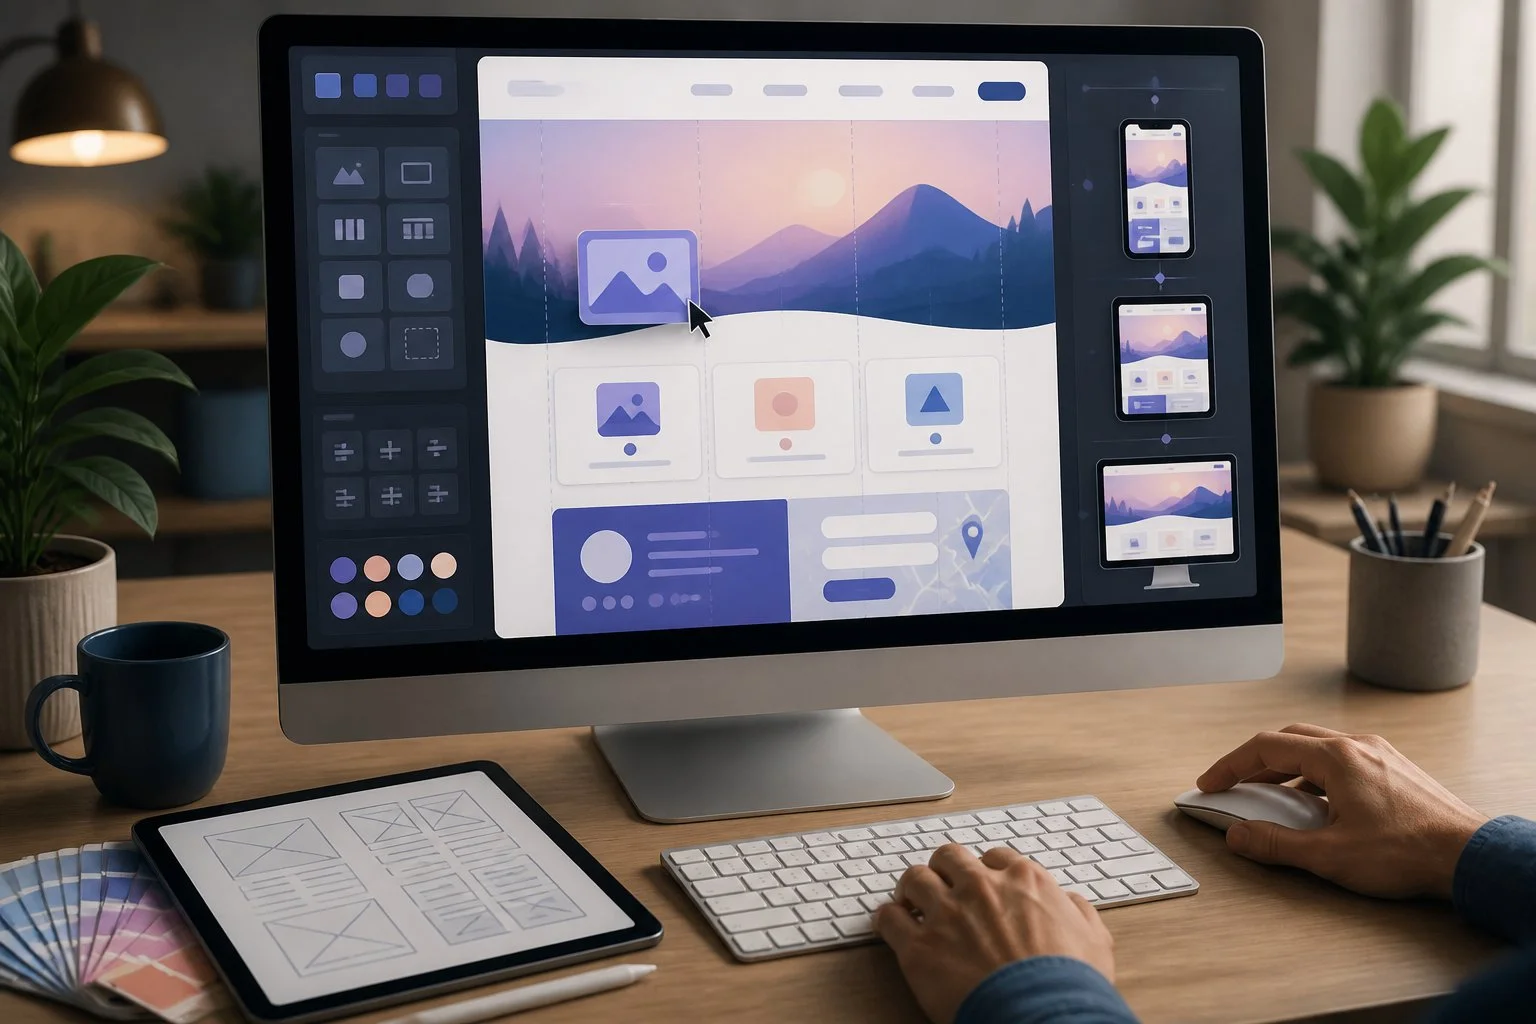
Building a website with Wix is surprisingly doable, even if you’ve never touched a line of code or fiddled with design tools before. After learing how to design a wix website you can get a professional-looking website live by picking a starting point, tweaking the layout, and dropping in the features your business actually needs—no need to overcomplicate things. Wix sorts out the techy stuff behind the scenes, so you get to focus on how your site feels and works for your visitors.
But let’s be real: getting your Wix site right takes a bit more than just slapping on a template and typing in some text. You’ve got to consider your goals, who you’re actually trying to reach, and what kind of path you want people to take through your pages. That’s how you end up with a design that fits your brand and actually helps your business—whether you’re selling stuff, booking clients, or just sharing your story.
This guide breaks down the whole process, step by step, from opening your Wix account to finally hitting “publish.” You’ll get tips on picking the right starting point, structuring your pages, and figuring out which features make sense for your business. By the end, you’ll have a plan for a site that looks good on any device and doesn’t get lost in search results (because, let’s face it, what’s the point if no one finds it?).
Pro Tip: Before you do anything in the Wix Editor, jot down your top three goals for the site. Seriously, it’ll keep you from getting lost in the weeds.
Key Takeaways: How To Design A Wix Website
- Start by nailing down your goals, your audience, and the must-have pages before you even think about design.
- Pick a Wix starting point and a design vibe that matches your brand, then add the features your business actually needs.
- Always check your site on mobile, keep things simple for visitors, and connect your domain before you launch.
Define Your Goals, Audience, and Website Structure
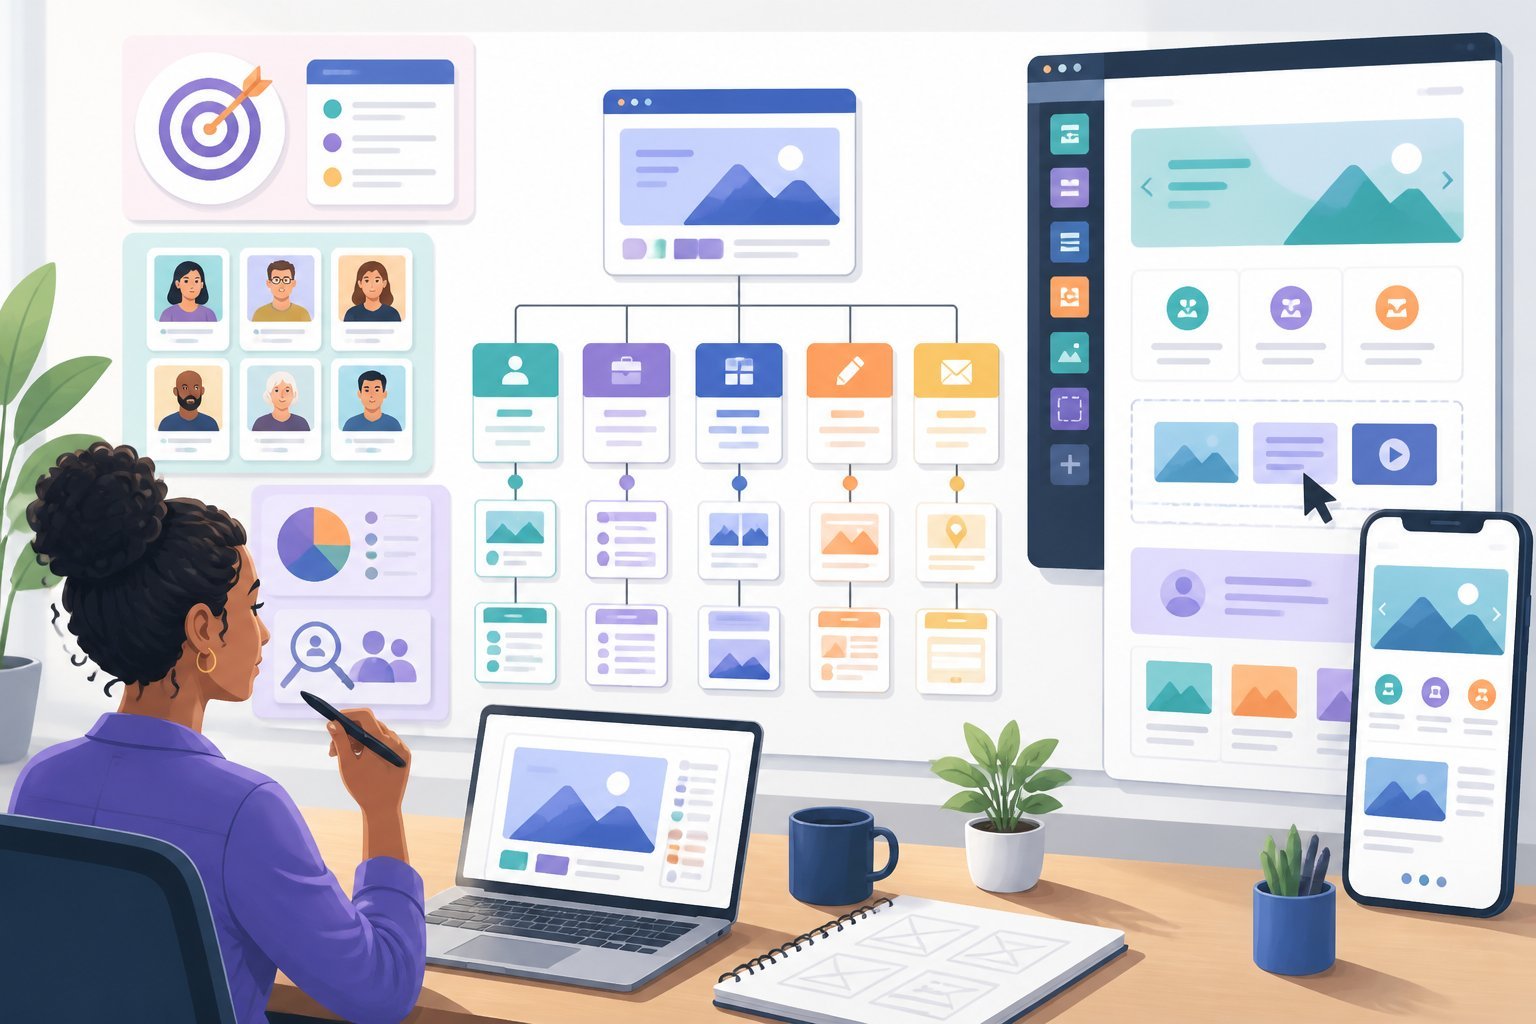
Before you even open the Wix editor, you need a game plan. That means figuring out your website goals, your target audience, and mapping out what pages your site actually needs.
Set Clear Website Goals
Your goals are basically the north star for every design decision you’ll make later to design a wix website. What’s the point of your site? Is it to sell products, get bookings, or launch a whole new online business? Try to pick two or three main goals—don’t try to do everything at once or you’ll end up with a mess.
A few common goals for business sites:
- Get leads via contact forms or newsletter sign-ups
- Sell products or services directly online
- Build brand trust and recognition
- Give info or support to your current customers
Seriously, write your goals down before you get lost in the design phase. It’ll help you stay focused and actually measure if your site’s doing its job later on.
Pro Tip: If you can, turn each goal into a number you can track—like “get 20 form submissions per week.” Makes it way easier to see if your site’s working.
Identify Your Target Audience
Your target audience is the group of people who are most likely to care about your site or buy your stuff. You can’t build a good user experience if you don’t know who you’re building it for, right?
Ask yourself some basics about your audience:
| Question | Why It Matters |
|---|---|
| How old are they? | Impacts your tone, fonts, and images |
| Where do they live? | Changes your language and shipping options |
| What problem do they have? | Guides your messaging and what you put on the site |
| How do they browse the web? | Helps you decide on mobile vs. desktop priorities |
Once you know who you’re talking to, you can pick colors, images, and words that actually speak to them. This step also makes it easier to figure out what should go on your homepage—since that’s usually your first impression.
Plan Essential Pages and User Journeys
Every business website needs a few core pages to guide visitors from “hmm, interesting” to actually taking action. Laying these out early saves you a headache later on.
Most sites need:
- Homepage – quick intro and main actions
- About us – build some trust, share your story
- Service or product pages – what you offer, with details and pricing
- FAQ – answer the stuff people always ask
- Contact – make it easy for folks to reach out
Sprinkle in testimonials near your product or service pages to boost your credibility. And your navigation menu? Keep it logical—people shouldn’t have to hunt for what they need.
Think about the path you want visitors to take—from landing on your homepage to hitting that “buy” or “contact” button. A clean website layout and clear structure make that journey easier (and shorter—nobody likes clicking around forever).
Choose the Right Wix Starting Point To Design A Wix Website
Before you dive into the Wix Editor, you’ve got to pick how you want to build your site. Wix gives you a few different ways to get started, and your choice affects how much control you’ll have over the look and feel.
Create a Wix Account and Set Up the Wix Dashboard
First things first: sign up for a Wix account (just your email or Google login, nothing fancy). Once you’re in, you’ll land in the Wix dashboard—this is where you’ll manage your site, your domain, and all the business-y stuff.
You can set up your dashboard by answering a few questions about your business, or just let Wix’s AI take a shot at it based on a short description you type in.
Once you’re set up, you’ll see a big “Design Site” button. That’s your cue to start building for real.
Pro Tip: Fill out your business details in the dashboard before you start designing. Wix uses this info to suggest templates, apps, and SEO settings that actually fit your industry.
Use the AI Website Builder or Wix Harmony
Wix has an AI website builder that’ll whip up a site for you based on a simple text prompt. Just describe your business, and it’ll spit out a layout, color scheme, and some starter content in a few minutes.
You can keep regenerating the design until it feels right. After that, you can tweak everything in the Wix Editor—nothing’s set in stone.
Wix Harmony is the newer version of the Wix Editor, with a much smoother drag-and-drop interface. It gives you tighter control over spacing, alignment, and how things look on different screens.
If you’re building something more advanced—like a site with a built-in CMS or tons of content collections—you might want to check out Wix Studio. It’s really aimed at agencies or freelancers who need all the bells and whistles.
Select a Template That Fits Your Brand
Not feeling the AI route? You can always start with a template. Wix has over 800 templates, sorted by industry—think retail, restaurants, portfolios, and so on.
Pick a template for the style, not the features. Look for a color scheme and layout that feels right, since you can add whatever apps you want later.
Every template works with the drag-and-drop interface, so you can move stuff around, swap images, and change text—no coding needed. If you’re planning to sell products, take bookings, or blog, just double-check that the template supports the CMS features you’ll need.
Build a Clear, On-Brand Page Design
Your site design should help people find what they need—without making them work for it. Good design is all about a clear layout, consistent colors and fonts, and media that actually supports your message (not distracts from it).
Create a High-Converting Homepage
Your homepage is your first impression, so make it count.
Kick things off with a headline that says what you do. Add a short line explaining why visitors should care.
Put your main call-to-action button front and center, above the fold—whether that’s “Shop Now,” “Book a Call,” or “Sign Up.” Use Wix’s step-by-step site checklist to cover the basics before you hit publish.
Try not to overload your homepage with too many messages. Focus on one main thing you want people to do—otherwise, nobody does anything.
Quick homepage checklist:
- Clear headline and subheadline
- One main call-to-action
- Trust signals (reviews, logos, testimonials)
- Fast-loading images
Establish Your Color Palette, Typography, and Brand Identity
Your color palette and typography really set the vibe for your site. Pick two or three main colors that actually feel like your brand—don’t just grab random colors because they “look nice.” Use them everywhere, even if you get tired of seeing them.
For fonts, pick one for headlines and another for body text. Try to stick with these throughout your site so everything feels like it belongs together. It’s tempting to get fancy, but honestly, too many fonts just get messy.
Pro Tip: Try your color scheme on both light and dark backgrounds before you lock it in. Some colors look awesome on white but totally disappear on darker backgrounds, which is… not ideal for readability.
Brand identity isn’t just about colors and fonts, though. It’s also your tone of voice, your logo, and the general feeling people get when they land on your site. If you’re not sure how to pull all this together, a website designer can help you get things looking (and sounding) right.
Use Layout, Media, and Effects With Purpose
White space isn’t wasted space. It gives your content room to breathe and helps people actually focus on what matters—otherwise, it all just blends together.
Put white space around buttons, images, and text so it’s clear where one thing ends and another begins. This helps people move through your site without getting lost or overwhelmed.
Graphics, transparent videos, and background images can add personality if you use them to support your message, not just as filler. If you go overboard, it’s easy for your site to start feeling cluttered.
Scroll effects and parallax can make things pop, but too many and suddenly your site’s slow and distracting. Less is usually more here.
And don’t forget to check your layout on different screens—desktop, tablet, and mobile to design a wix website. Responsive design isn’t just a buzzword; it’s what keeps people from bouncing the second your site looks weird on their phone.
Add Features That Support Your Business Model
Your site should do more than just look nice. Consider it to design a wix website. It needs to have the tools that actually fit how you run your business—whether that’s selling stuff, booking clients, or just collecting leads.
Set Up Ecommerce and Product Experiences
If you’re planning to sell online, Wix Stores gives you what you need for a real online shop. You can add product pages, set prices, and track inventory all in one place.
Each product page can show off photos, descriptions, size charts, and reviews. You decide how things are displayed and how the checkout works.
Inventory management is built in, so you’ll know when you’re running low before you accidentally oversell. That’s always awkward.
Pro tip: Turn on automatic stock alerts so you don’t have to keep checking manually—nobody wants to get caught out of stock.
Capture and Communicate With Leads
Not every business is about selling products. Some just need to capture leads or book appointments.
A contact form makes it easy for folks to reach out if they have questions or want to work with you. Put it somewhere obvious—like your homepage and contact page.
If you offer services, appointment scheduling tools let people book without the back-and-forth emails. It’s a lifesaver if you hate phone tag.
Live chat is great for quick questions. Sometimes, a fast answer is all it takes to turn a visitor into a customer.
Once you’ve got their info, email marketing tools help you stay in touch. Send updates, promos, whatever—just don’t spam people or they’ll unsubscribe fast.
Extend Functionality With Wix Apps
The Wix App Market (sometimes called the Wix Marketplace) is where you can add all sorts of extras to your site. There are apps for marketing, ecommerce, customer service—you name it.
Popular picks? Booking calendars, loyalty programs, social feeds. Most install with just a couple clicks, no coding required.
And if you want to blog, a Wix Blog is easy to add. Blogging isn’t just for fun—it actually helps your search rankings and keeps your site fresh.
Before you add an app, check the reviews and read the description. It’s easy to get carried away, but too many features just slow things down and confuse visitors.
Optimize for Mobile, Accessibility, and Search
Your site should work well on phones, follow accessibility basics, and actually show up in search results. These all go together—Google likes mobile-friendly, well-structured sites.
Refine the Mobile View and Responsive Experience
Wix automatically builds a mobile version of your site, but you’ll want to go in and tweak it. Sometimes stuff that looks fine on desktop gets weird or cuts off on mobile.
Here’s what to check:
- Font size: Anything under 14px is probably too small to read on a phone.
- Button size: Make sure they’re big enough for thumbs—about 10mm by 10mm is a safe bet.
- Image scaling: Use percentages, not fixed pixels, so images actually resize.
- Spacing: Give links and buttons space so people don’t accidentally tap the wrong thing.
Test in both portrait and landscape. Hide anything that doesn’t need to show up on mobile—big decorative images can really slow things down.
Pro Tip: To design a wix website, Run your site through Google’s PageSpeed Insights. If your homepage takes more than three seconds to load, most people won’t wait around.
Configure On-Page SEO Elements
Wix SEO settings give you control over how each page appears in search results. The SEO Wiz tool is pretty helpful—it gives you a checklist based on your site and business type.
For every page, set these up:
| Element | Purpose | Best Practice |
|---|---|---|
| Meta titles | Shows as the clickable headline in search | Stay under 60 characters, use your main keyword |
| Meta descriptions | Summary text under the title | Keep it under 160 characters, actually describe what’s on the page |
| Alt text | Helps screen readers and search engines understand images | Short, accurate descriptions are best |
| URL slugs | The page’s web address | Use short, readable words—hyphens instead of spaces |
Clean URLs help people know where they are before they even click. Skip the random numbers or weird characters in your links.
Connect Google Tools and Improve Technical SEO
Connect your Wix site to Google Search Console and Google Analytics so you can actually see how people find and use your site. Search Console shows which search terms bring people in and flags indexing issues. Analytics tells you which pages are popular and where people bounce.
Submit your sitemap through Search Console—Wix makes one for you, but you still have to upload it the first time.
And definitely use https, not http. It keeps your visitors’ data secure, and Google likes secure sites better.
Connect Your Domain, Publish, and Improve Over Time
Once your site looks good, you’ll still need a domain, a last round of checks, and a plan to see what’s working. These final steps are what make people trust your site—and come back.
Choose and Connect a Custom Domain
Having your own domain just looks more legit than using a free Wix address. Instead of something like “yourname.wixsite.com,” you get “yourbusiness.com.” Way more professional.
You can buy a domain right through Wix, or connect one you already own. Wix offers a bunch of extensions, but honestly, .com is still the go-to for most businesses.
Here’s a quick rundown:
| Option | Best For |
|---|---|
| Buy through Wix | Anyone who wants a quick, easy setup |
| Connect existing domain | If you already bought a domain somewhere else |
| Free Wix subdomain | Just testing things out before you go live |
Most Wix plans throw in a free domain for the first year. Double-check your plan so you don’t pay for something you already get.
Pro Tip: Turn on auto-renew for your domain so you don’t wake up to a site that’s suddenly offline. It happens more than you’d think.
Test Before Publishing
Before you hit publish, test everything. Click every link, button, and form—really try to break it.
Check your site on your phone, tablet, and computer. Layouts can get weird on different screens, so don’t skip this.
Here’s a basic checklist:
- Look for typos and grammar mistakes
- Make sure contact forms and buttons work
- Double-check prices, hours, and contact info
- Images and pages should load fast
- Menus and text should be easy to use on mobile
If you can, get a friend to click around too. Fresh eyes always spot things you missed.
Measure Results and Maintain the Site
Once you’ve hit publish, go ahead and connect Google Analytics and Google Search Console to your site. These tools are free and, honestly, pretty essential—they let you peek behind the curtain to see who’s visiting, what they’re clicking on, and how they actually found you in the first place.
When you track this info, you’ll get a clearer sense of whether your website goals—like getting more sign-ups or making sales—are actually happening. It’s also a big help for SEO: you can spot which pages need catchier titles, sharper descriptions, or just better content overall. Sometimes the stuff you think will work just… doesn’t. That’s fine. Tweak and try again.
Try to keep things fresh. Regular updates—whether it’s new photos, blog posts, or the occasional product listing—give people a reason to come back. Plus, it’s good for brand awareness in the long run. Nobody likes a stale website, right?
If you run into a wall (it happens), reaching out to a professional website designer or a solid web design services team can make a world of difference—especially for those weird technical bugs or if your layout just isn’t clicking.
Frequently Asked Questions
- How many colors should I use in my website color palette?
Honestly, two or three main colors is usually enough. Any more and it gets overwhelming—unless you really know what you’re doing with color theory. - What’s the best font for a business website?
There’s no single “best” font, but stick to something readable for body text (think Open Sans, Roboto, or Lato). For headlines, you can go a bit bolder, but don’t get too wild. - How do I make sure my site looks good on mobile?
Always test your site in the Wix Mobile Editor and on your actual phone. Adjust font sizes, button sizes, and hide anything that doesn’t need to load on mobile. - Can I add features to my Wix site after it’s published?
Absolutely. You can add apps, update pages, and tweak your design anytime to design a wix website. Just remember to publish changes for them to go live. - What’s the easiest way to collect leads on my site?
Add a simple contact form or a newsletter signup. Make it easy to find—don’t bury it in the footer. - How do I connect my own domain to Wix?
You can either buy a domain through Wix or connect one you already own. The setup is pretty straightforward in the dashboard, but DNS changes can take a few hours to work. - Do I need to know how to code to use Wix?
Nope. Most things are drag-and-drop or handled by apps. If you want to get fancy, there’s Velo by Wix for custom code, but you can do a lot without it. - How do I improve my Wix site’s SEO?
Fill out meta titles and descriptions, use alt text for images, and keep your URLs clean. The Wix SEO Wiz tool can walk you through the basics. - Is it possible to sell products and book appointments on the same site?
Yes! Wix lets you add both ecommerce and booking features, so you can do both without needing two separate websites. - What should I check before I publish my Wix site?
Test all links, forms, and buttons. Check for typos, make sure your site loads quickly, and review how everything looks on mobile and desktop. A second set of eyes helps, too.
Comprehensive Key Terms Glossary
- Website Builder: A tool that lets you create a website without writing code.
- Template: A pre-made website layout you can customize with your own content.
- Domain: The web address people type to find your site, like yourname.com.
- SEO (Search Engine Optimization): Steps you take to help your site show up in search results.
- UX (User Experience): How a visitor feels and behaves while using your site.
- UI (User Interface): The buttons, menus, and visual parts a visitor interacts with.
- Visual hierarchy: The order in which your eyes notice elements on a page, based on size, color, and placement.
- Wix Dashboard: The control panel where you manage your site, domain, and business settings.
- Wix Editor: The drag-and-drop tool used to design and edit your site’s pages.
- Wix Harmony: An updated version of the Wix Editor with refined design controls.
- Wix Studio: A Wix platform built for agencies and freelancers needing advanced tools.
- CMS (Content Management System): A system for managing dynamic content, like blog posts or product data.
- Color palette: The group of colors you use across your whole site to keep things consistent and on-brand.
- Typography: The style, size, and spacing of your text—basically, your font choices and how you use them.
- Brand identity: The visual and verbal stuff (like your logo, colors, fonts, and tone) that makes your business stand out and feel familiar to customers.
- Product page: A page that shows off one specific item, with details like price, photos, and descriptions.
- Inventory management: The system that keeps track of how much stock you have on hand, so you don’t accidentally sell out.
- Checkout: The steps a customer goes through to pay for their order and finish buying.
- Wix App Market / Wix Marketplace: The store where you can find add-ons and apps to give your site extra features.
- Sitemap: A file that lists all the pages on your site, helping search engines find and index your content.
- Meta tags: Bits of code that describe your page to search engines, including the title and description you see in search results.
- Https: The secure version of the web protocol (HyperText Transfer Protocol Secure) that encrypts data sent between browsers and your site.
- Domain / Domain Name: The web address folks type in to reach your site, like yoursite.com.
- Domain Extension: The ending bit of a domain, for example, .com, .net, or .org.
- Web Hosting: The service that stores your site’s files and puts them online for everyone to see.
- SEO: Stands for search engine optimization—a fancy way of saying you’re working to help your site show up higher in search results.
- Wix Dashboard: The main control panel where you manage your site’s settings, domain, and plan.